
Yup, it's the men's version of the half-zip pullover. If you bought the Navigator and the Constellation, you can sew a matching set for the whole family now. They coordinate very nicely and have very similar style lines from version to version.
I sewed my husband the XXL. It gives him layering room without the fit being too sloppy. Check the finished measurements against the recommended size. You may want more or less ease than the pattern recommends. For example, I was using a sweater fleece that had a little more stretch than the pattern recommends and I like a little less ease. I sewed his first one in the XXXL and he was drowning in it. I had to take in the sides by quite a lot to get the fit right. The second one I sized down and it was perfect.

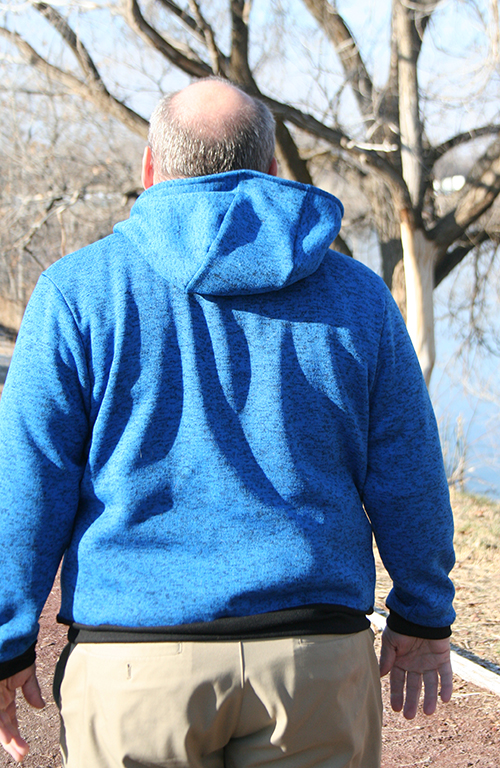
I tested both the hooded and collared version of the jacket. The hood was a little big on my husband but it fits most pattern testers' models well. If you're worried you can sew a drawstring channel into the hood. The pattern recommends top stitching anyway. Just top stitch 1/2" back and add a small buttonhole or grommet on each side at the bottom of the hood. Then feed through a yard of twill tape and tie knots in the ends.

The directions are careful and cover all the basics. There's even a video for the zipper installation if you're worried about that.
I will say that they are a little over generous with the fabric recommendations. I got both versions out of less than 2 yards of fabric each. The pattern recommends 2 1/2 yards for the hooded version and 2 1/4 for the collared. Just get 2 yards and you'll be fine. I know it's hard to buy fractions from online retailers, so not having to buy that extra full yard is a big savings. You will need more if you have to lengthen the pattern. My layout only gives you about 3" of wiggle room.
Getting it all under two yards just takes laying out the fabric correctly. Don't fold selvage ends together like you do for most patterns. Fold both selvage ends toward the center. Make sure you fold over the same amount on each side by measuring from the edge of the selvage to the fold. The amount should measure the same the full length of the fabric. You fold just enough to fit the pattern pieces, leaving a gap between the selvages. Measure your pattern pieces and then fold over that amount plus an inch or two. When doing the hooded version your center hood piece can be cut out of the fabric in the center between the other pattern pieces you've laid on the fold. It all looks like this:

That's the back piece, front top, pocket, and pocket lining all lined up on the left. On the right fold, I have both sleeves and the side hood. (By the way, if you like having all the pieces laid out completely before you start cutting, you can print an extra sleeve. You just need two copies of pages 22, 23, 27, 28, 34, and 35.) You only need to cut one of the center hood piece. You'll notice mine is up at the top in the middle. This isn't the only way to lay out the pattern; this method just worked well for me and fit the way the company designed the pieces.
Overall impressions:
Fit: loose and boxy. Made for layering. I found the sizing to be a little overgenerous in the upper sizes. It could have been my fabric, but I'll be watching it in the future.
Difficulty: Rated as "confident beginner" and it's pretty accurate. It sews up easily with the zipper and the bias trim being the only things that might make a beginner hesitate. There's a video for the zipper installation and no one will see if your topstitching on the bias isn't perfect. Promise.
Price: $10. Fair and in line with most online PDF patterns.
Will I make it again? Yup. I already have the fabric to make my son one as a Christmas present. He's looking forward to getting it.